

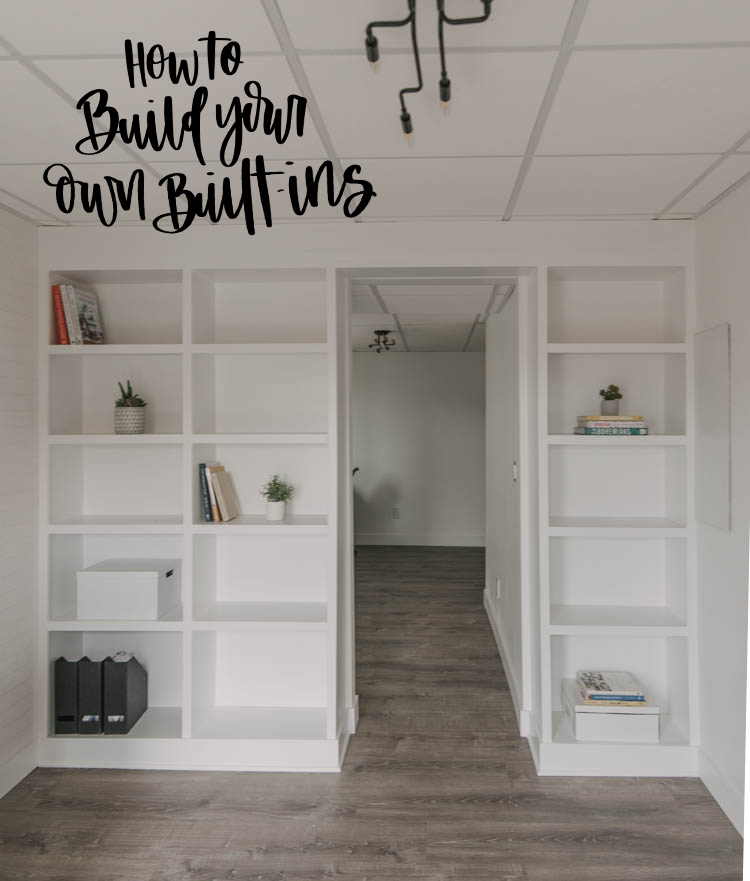
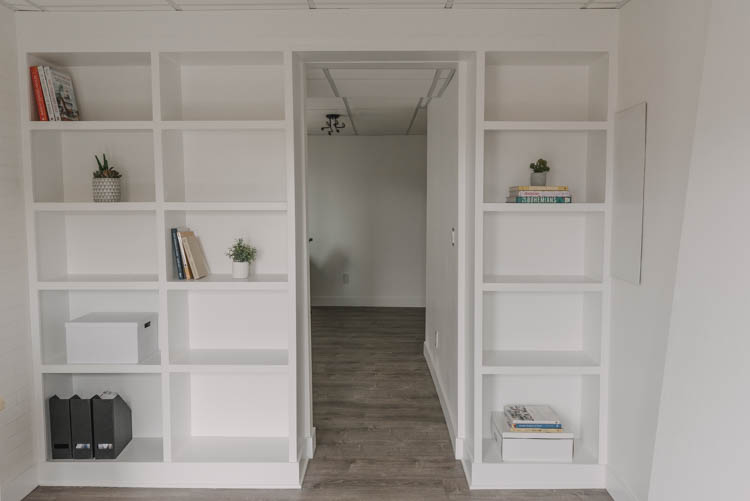
How To Install Built In Shelves
I'g sharing the pace by step tutorial to build your own built in shelving around a cased opening… even with a drib ceiling. This modern DIY congenital in shelving is easy to make past yourself with these tips.
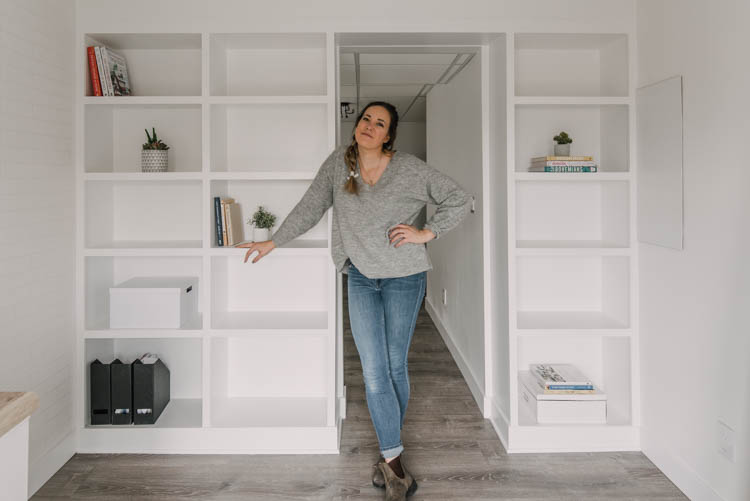
As we're building my role out of an unfinished basement infinite, there are then many projects I've wanted completed in here and very limited time that Shane and I can work in there together. Which could exist a downer and hateful less projects, merely I'yard not afraid of a fiddling trial and error on my own and am feeling and so empowered taking on big DIYs similar this solo.
I've been designing our builds since we started renovating our concluding house five years ago, but commonly Shane and I would build every bit a team. Since I know how I want it built… and I know how to use the power tools, it was most time I took ownership and started doing some of the building myself! I started small this summertime and built this toy breast for my kids. And then it got a bit bigger (although used some hacks!) and built this rolling arts and crafts table for my part. Now, these congenital in shelves effectually the cased opening!
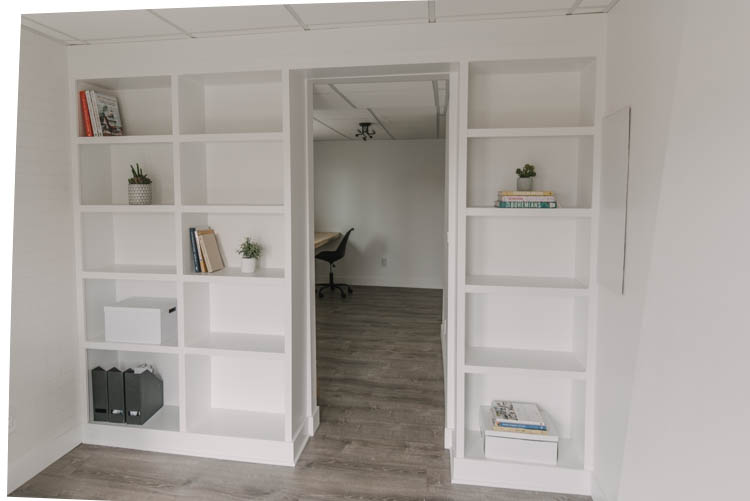
I'm And so happy with how they turned out. Building built in shelving with a drib ceiling was a fleck of a design claiming as we'd only built them in the past by using the ceiling as a support. This time effectually I used the side and back walls every bit my anchor points and had everything built from the ground up.
Ready to see the DIY tutorial and how I was able to make them by myself? Big thank yous to The Dwelling house Depot Canada for believing in my vision for this infinite and partnering to see it come to life!
Earlier I get to the nitty gritty- if you'd rather wrap your head around this in video form- I saved an Instagram story with all my progress and thought processes on this diy congenital in shelving project. Yous can check that out correct here.
You're likewise going to realize pretty quickly that I'one thousand not a professional carpenter… I'm guessing if you lot landed here- you aren't either. I promise that the non-technical language and accessible design helps y'all experience a little more confident taking on a projection in your own abode! As e'er- have on any projects at your own risk ;)
How to Pattern Built in Shelving
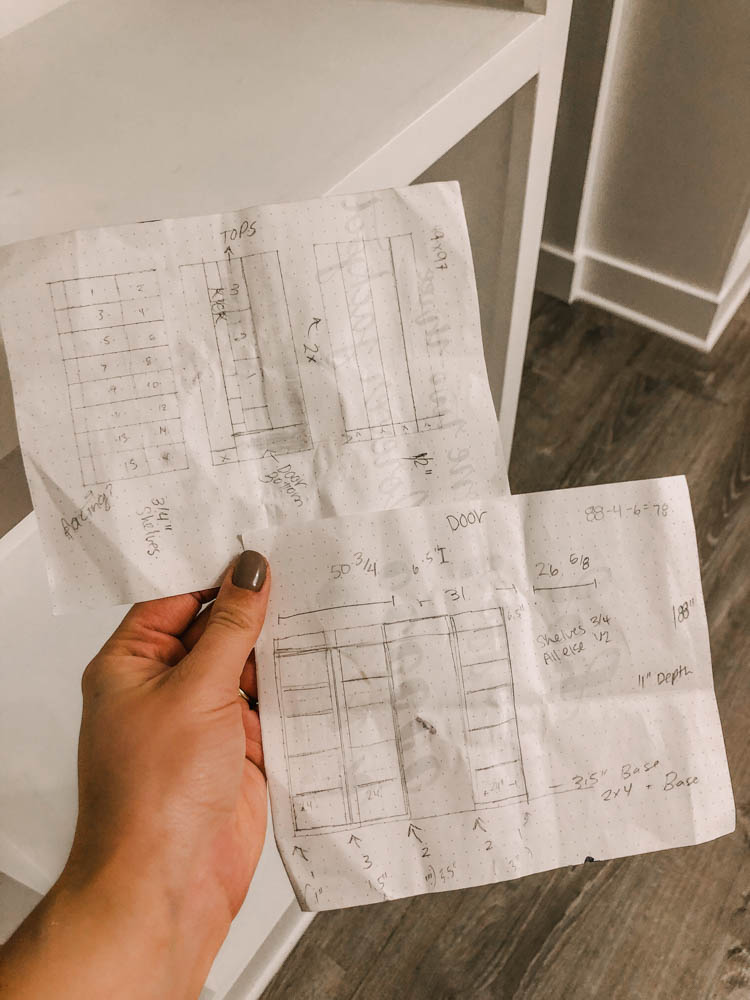
The first thing you'll need to do is blueprint your shelving for your infinite. Here'southward how I did that. I always use graph paper or dot paper to depict it out while I'm deciding these design measurements. I also guess everything when I'1000 designing, then become really specific when I'm building. That'due south just how my encephalon works- only Shane would prefer to exist specific in these steps too- and so if your brain works that mode. Ignore my 'ish' measurements here and sub your very super specific ones, k?
Measure out your infinite and decide how many shelves you lot desire to break it into width wise. For me, I had but over iv anxiety on one side of the door and well-nigh two anxiety on the other side. This broke well into 2 human foot (ish) sections.
Then, you tin determine how many shelves you'd like high. I wanted to have a good size header as nosotros are hoping to mount a befouled door to the top of this. If you were wanting to add a library ladder or something similar, you'd want to account for this equally well. I also wanted to take a standard baseboard wrapped effectually the base. Subsequently deciding to leave nigh vi″ for the header and 4″ for the baseboard, I decided I'd like 5 cubbies.
The final thing you'll want to decide is how deep you lot'd like your shelves. Since we take that access panel to the right of the built ins nosotros needed to keep these to xi″ deep. For the sake of purchasing material I used these rough measurements.
How to Summate Materials Needed to Make Your Own Congenital In Shelving
Given how I'd designed the shelves, I used the rough measurements to make a materials list. And then each shelf needed 2 feet long of 11″ wide material and I needed 6 of them. (accept into business relationship that top 'shelf' that yous case in for the header) I chose to use 3/4″ MDF for these. Uprights, I needed v to build the frame of the shelves (11″ wide past 77″ long). I also needed an additional half dozen uprights- which is how I supported the shelves, I'll share more about that later. I used 1/2″ MDF for this.
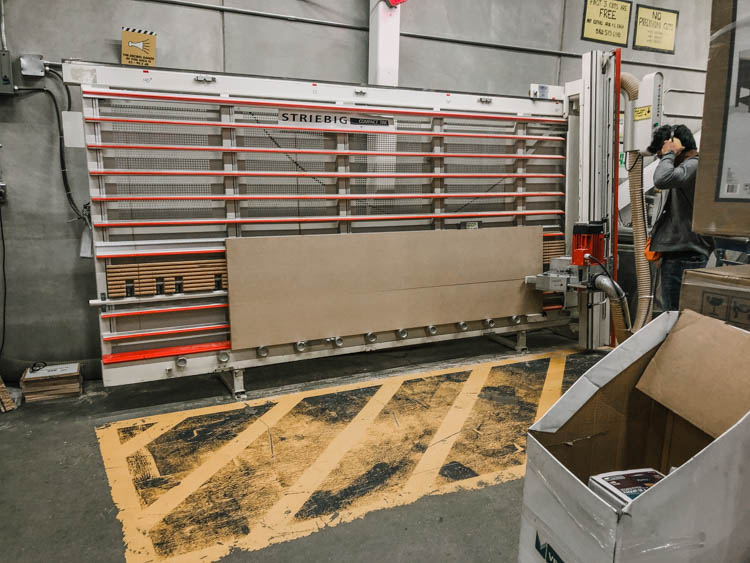
I also needed to cover the header and baseboard- so yous'd add those measurements in for 1/ii″ MDF. To calculate how much MDF or plywood you need for a project, I like to depict it out once more. I'm super visual and so I discover drawing information technology out lets me figure out the best utilise of materials then I accept less waste and so I can have advantage of Dwelling Depot'south cutting services. I draw out a four×eight sheet then section it off. For me that meant having all the MDF cut into eleven″ strips at Home Depot. This is the only way I could build built in shelving myself. I can't handle four×eight sheets of MDF through the tablesaw at home… by myself. The 11″ strips? Easy, friend.
The other materials yous would need to calculate are trim (I faced the entire front with 1×2 MDF trim) and 2x4s for your base and header. The trim should be fairly easy to calculate if you have your design drawn out. Only measure out how many feet you lot need for the uprights, and and so for the shelves. This trim but bulks the shelves up to make them look less like a particle lath bookshelf (I know y'all know the ones) and more similar custom congenital in cabinetry.
The 2x4s are the hidden construction. I built a base for each section of shelving and a matching header for each section of shelving. Y'all'll essentially need 2x the width of your shelf and 2x the depth of your shelf for each the bottom and tiptop (then for me that amounted to (2ftx2 + 11″x2) approximately 6 ft of 2×four for each base and each header.

How to Build Built in Shelving Yourself
I started at my outside walls and put the first uprights in identify I used screws into the studs, so make sure your screws are two i/2″ or even three″. You don't need to worry well-nigh how the screws look since you lot will be roofing this slice almost entirely. After your wall panels are done, time to build the base and headers!
Here you'll demand to go specific on your measurements. Make sure to have off the width of the MDF uprights that run to the floor when you lot're dividing how wide you need each shelf to be.
I congenital these wood frames/bases out of two×4 and attached them through the MDF upright into the studs on the side walls and on the back wall. I did this for both the base of operations and the header. This is where your structure will come up from- it's what holds it all to the wall so brand sure to hit the studs!
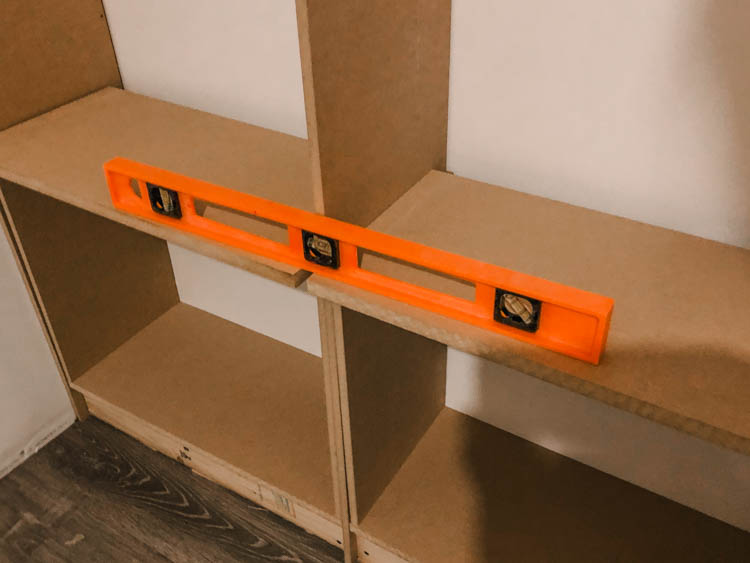
Since I was doing this solo, I establish it easiest to start drilling my screws in at pre-measured points (where the studs are) earlier lifting the header to place and levelling it. I used a 2ft level for this. Make sure to level the base too- if your floor is not level (mine weren't since nosotros laid flooring over concrete!) apply shims to level it up before securing to the studs. Everything will be built off of this and then accept your time to arrive correct.
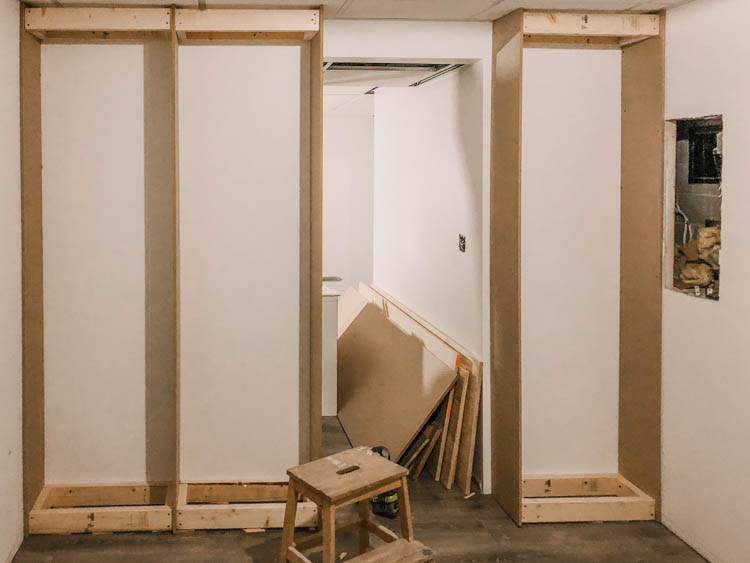
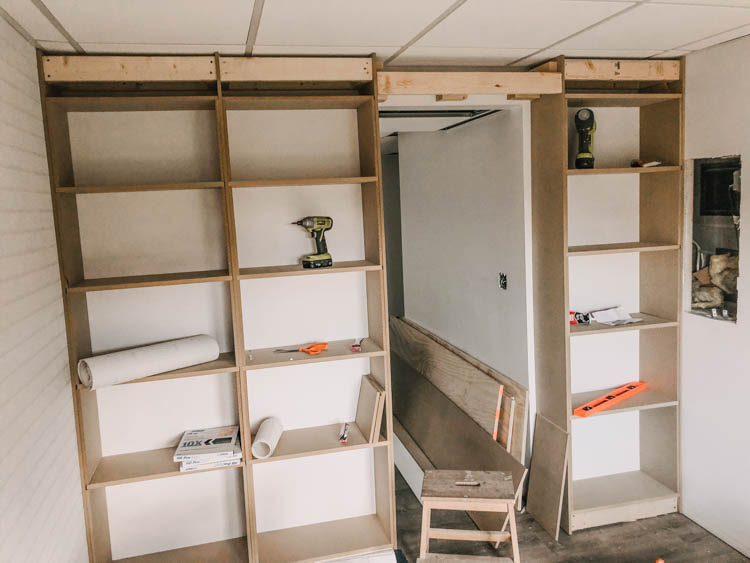
Work from the wall towards the cased opening- or if you're going wall to wall, y'all'll desire to piece of work from each side simultaneously so if your measurements are a hair off- you take that in your middle shelf instead of the side ones- keeping information technology symmetrical. So after y'all put the wall panel upright in, then the base and header, add another upright to separate your shelving sections, screwing it to the header and the base, and so add another base of operations and header. Spiral this one through the MDF panel into the other header and base and into the studs in the dorsum wall. Stop it off with some other edge panel/upright. You'll be trimming this out then all screws volition be hidden.
One time you lot have your uprights, base and header in… information technology's time to lookout this diy congenital in shelving come to life!
Commencement by putting your base of operations shelf in- just correct on top of that base. Make certain over again that it is level and shim as you need to. Use brad nails to hold this in identify- everything is being built on top of this.
This is the role that helps information technology come up together so hands so if I'm not making sense to you in this paragraph- become sentinel the Instagram story highlight where I show it… once y'all've decided the exact height of your shelf- time to cut upright pieces out of the 1/2″ MDF. These upright pieces will be cut to the bottom border of your shelf- the shelf volition rest on peak of them. These should have already been cut to your depth by Habitation Depot or wherever (mine were in 11″ strips, call back) so you are but having to think length of each board here.
When you're doing your verbal measurements for cut, make sure to take into business relationship the three/iv″ shelves that you lot will be putting in. If you've had to shim at all to get things level, this volition affect your pattern measurements and so it'due south really important to to exact measurements before yous cut and build.
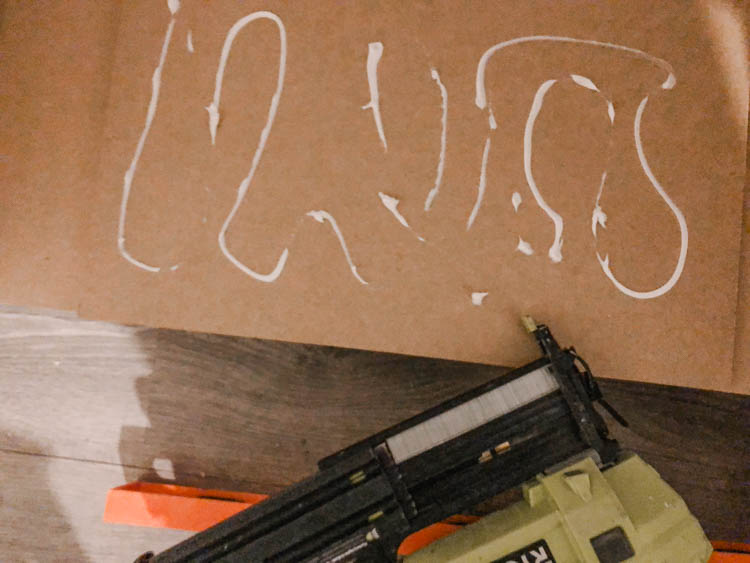
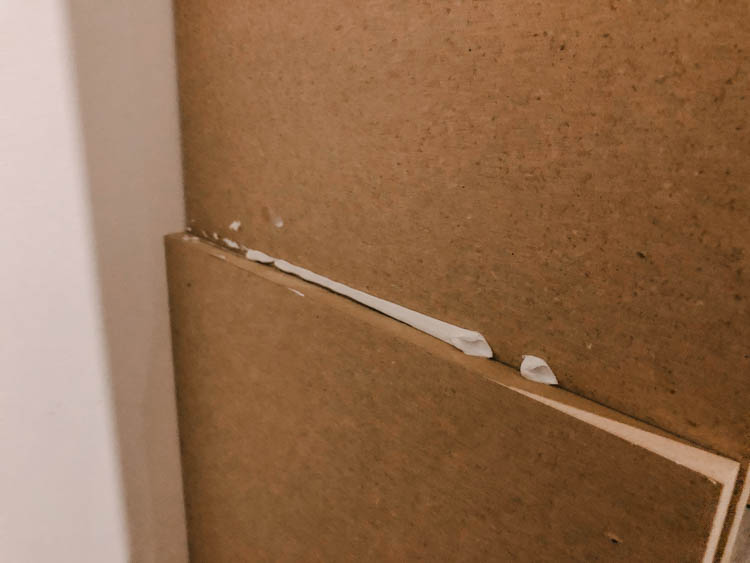
Attach these shelf support uprights using brad nails and adhesive. I used 'No More Nails'. I used five/viii″ brad nails on the heart shelves (so they didn't pop out into the other side of my shelves) and longer ones into the walls. And so, cutting and put commencement side by side shelf on height of those supports. Brand sure it'southward level and add some agglutinative to the edges of the shelf and a couple nails to hold information technology in place (into the upright supports you just placed). I liked to work horizontally, so vertically. So I would practise both the shelves on the lesser kickoff and level them to each other, and so keep working your style upwardly!
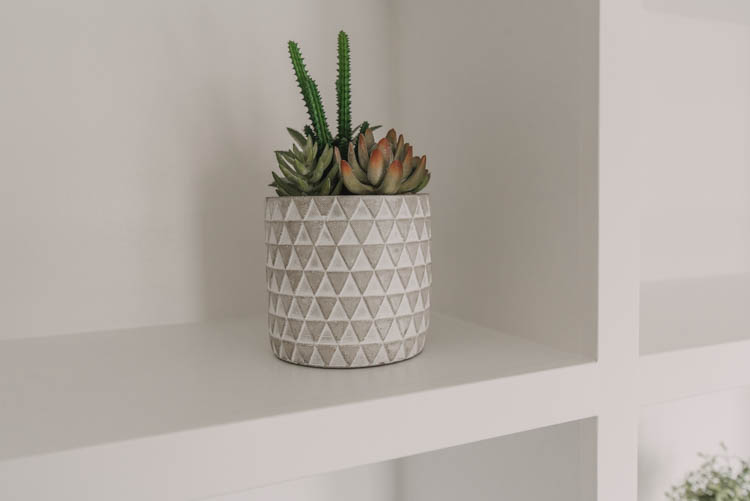
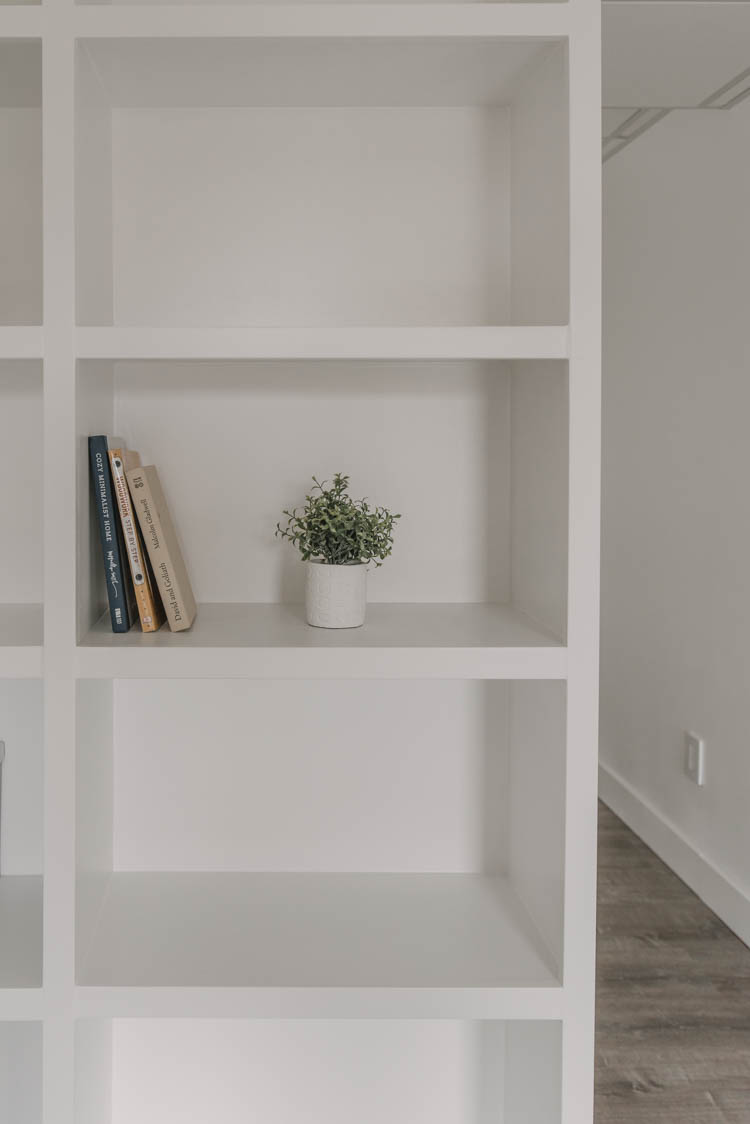
When yous get to those top couple shelves, I'd remeasure and split the divergence if yous're out a piffling bit- these two meridian shelves will be the same size even if they're different from the lesser. I purposely made my lesser shelves a little bigger to accommodate some big books, vases and magazine holders.
The top shelf of this diy congenital in shelving volition likewise need a pinnacle- you don't desire to look at the 2×four header! But make another shelf the aforementioned way, and pop information technology on the uprights- you'll only see the bottom of this 1.
How to Arrange a Doorway in diy Built in Shelving
IF yous are building around a cased opening like I am (a doorway), you will desire to secure that upright to the shelves. Use longer brad nails from the cased opening into the shelf. These patch easy with woodfill afterwards and is worth the patching to make information technology all secure!
You will also need to decide if you want to case out over the door. I chose to example this out without making information technology into a shelf since I am planning on running a barn door track here. You could put a shelf here if y'all rather, but that will bear on your design plans.
How to Trim Out Built In Shelving
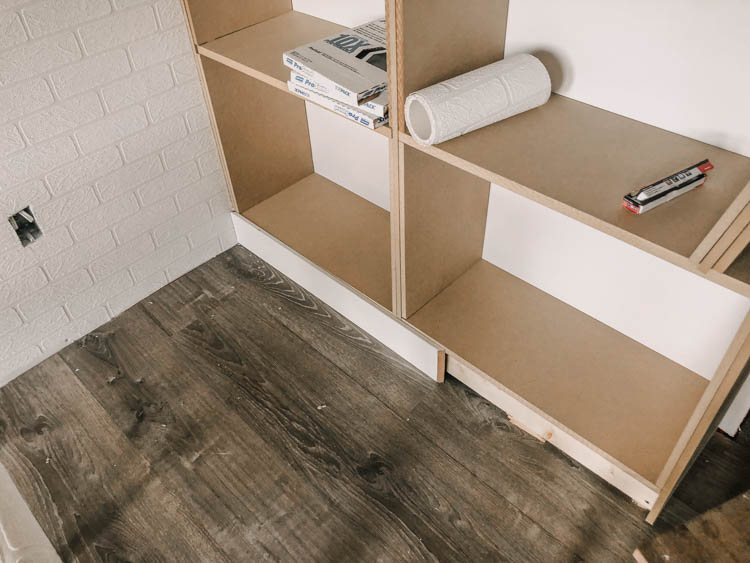
At this signal… your diy built in shelving is complete! Information technology merely doesn't expect beautiful. Now nosotros want to trim it out and get it looking custom. I started with the baseboard. I ran MDF to cover the 2×four framing and level information technology with the uprights and base of the shelf. Then I added a baseboard to wrap around the bottom of the shelves. Since the floor wasn't level and I wanted the baseboard to exist level to the bottom shelf, I added a quarter circular moulding as a shoe along the baseboard- this hides any imperfections in the floor level.
For the header, I shimmed out any areas the two×4 header didn't meet the edge of the uprights and then I ran a pino board across the elevation of the entire built in. I did build a header for the gap higher up the doorway likewise. If you aren't planning hanging anything off this header- just use MDF here, it has a much cleaner stop.
On the header above the cased opening, you lot'll demand to add a bottom to hibernate that 2×four frame so use MDF for that.

At present we buff up the shelves and uprights! I used i×2 moulding for this. When we built these last time, nosotros cut our own from sheets of MDF to salve money. Once more- since I was doing this myself, I didn't meet myself manhandling a canvass of MDF through the table saw into two″ strips by myself so I opted for ease and purchased the trim.
I ran the 1×2 on the uprights first, tacking it in identify with brad nails. Brand certain these cuts are perfectly to length. I lined them up every bit follows: on the exterior walls, make them tight to the wall- they will hang over your shelves a bit and thats a-okay. On the middle uprights, they volition JUST comprehend your 3 layers of MDF. Centre information technology on there. If yous're confronting a cased opening similar this (or are not going wall to wall), line the edge of your trim upwards with the exterior edge of your upright and then from the outside, this looks flush. Again, the trim volition hang over the shelves on the inside a bit and that's the plan.
Then, cut your MDF trim for your shelf faces. Line them upwardly so the shelf has a flush, apartment surface- let the overhang be at the top of the shelf below.
Where to use Wood Fill vs Caulk on DIY Built in Shelving
At present it's time to finish these babies up! Don't make the mistake I did and gloat existence done even so. You're totally not. This process is time consuming simply really worth information technology. This is what gives your work a custom look.
Utilise wood fill to fill all nail holes and gaps that are affluent. For example, between the shelf and the trim piece- you want that to all await like 1, so you would use wood fill here. If information technology's a squeamish apartment surface for yous to sand… wood fill up. Make certain the wood fill you use is paintable and if you're painting white- even become white wood fill. Make sure to fill any gaps a bit above the pigsty so you tin can sand it down affluent.
Sand the wood fill and all surfaces of your built ins to ensure paint goes on evenly and everything is smooth. I utilize a palm sander for this and 180 grit sandpaper. If you lot take a really rough area, you can use 100 grit sandpaper, merely I wouldn't go below that for MDF.
Use caulk to fill any corners. Do this after yous're done sanding your woods fill. I accept a video… that's super awkward because it's my beginning video EVER- but it shows how to caulk to fill baseboards and corners like you'll demand to do here. I thing I would right from that video though is if you're filling mitred corners like on the baseboard around the cased opening- use wood fill here, information technology'due south much more durable. Always caulk before you pigment- it will hold up and then much better! Caulk collects grit and doesn't wipe abroad as easy as dust on painted surfaces.
How to Pigment MDF Open Shelving
I asked what you guys would want to know near these shelves in my IG stories and one of the questions was how to brand them expect not so… painted. MDF is a paint HOG you guys. I have been told to ever always utilize an oil based primer on it get-go. It stinks, I know… and it'due south incommunicable to clean- yep. I buy a disposable roller cage and tray for it because paint thinner with kids around scares me and I just go for it. It volition seal your MDF and so you don't demand to exercise nine coats. I use this i. If y'all use a dissimilar ane, but brand sure information technology'due south suitable to go over with latex paint after.
Then paint chiffonier paint or door and trim pigment. It took 2 coats to get this even coverage. I could probably do a 3rd. I use a satin end and I roll it on. Brush strokes well-nigh ever show on flat surfaces similar this, then I brush the corners and difficult to reach nooks then scroll right overtop of information technology. A skillful chiffonier paint is cocky levelling so information technology won't have texture to it. I know a lot of US bloggers recommend using a paint additive for self levelling (Floetrol is the ane I come across oft) but it's non available in Canada that I know of.
If you're really craving a polish cease- a paint sprayer is the style to get. I take a mail with beginner tips on a paint sprayer here and a postal service recently with more tips here. I chose non to do that in here because nosotros were working on other projects simultaneously where we needed to get through that doorway so I didn't want to mask it all off.

Phew! That'southward a LOT of information, simply y'all guys had so many questions over on IG virtually my diy built in shelving project and I wanted to make sure I answered them all! I hope that this post is informative and helpful for you. Let me know if you have any questions about making your ain DIY built in shelving!

Source: https://www.lemonthistle.com/diy-built-in-shelving/
Posted by: bankstonnonon1970.blogspot.com
0 Response to "How To Install Built In Shelves"
Post a Comment